Get The Latest On Our Greatest
Subscribe to Our Company/Product Updates

Thursday, November 22, 2018
A few years ago, I had the job of helping an old contractor friend put in some railing at his house. I was essentially cutting metal rods and placing them into holes drilled into wooden rails, attempting to make them fit as well as possible. When you’re installing balusters this way, care must be taken to ensure that the holes for the balusters are drilled to the right depth, width, and spaced in accordance with the local building codes. After doing this with several balusters, I quickly discovered that this method wasn’t as easy as I had initially thought.
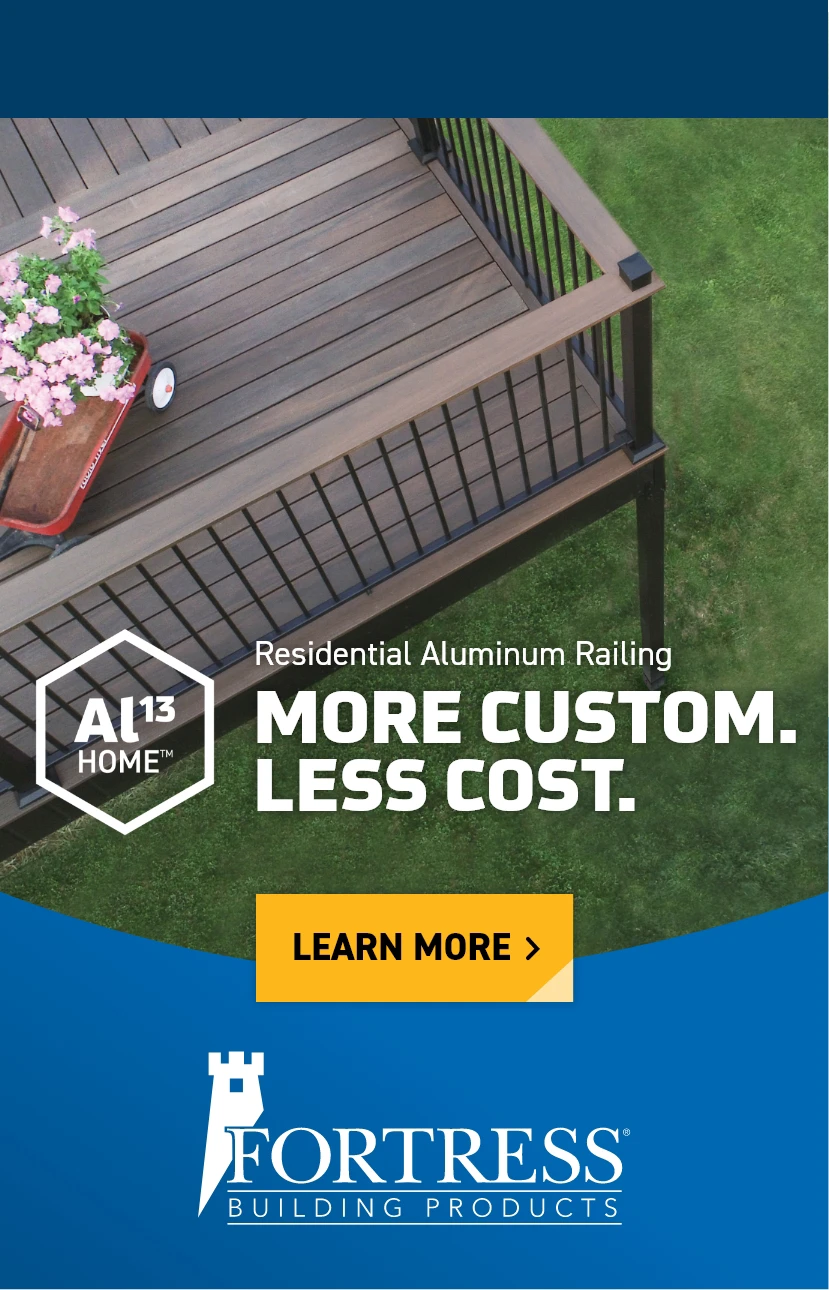
Railings and balusters alike can be somewhat temperamental depending on the system. There are lots of systems out there, but one of the easiest ones involves sliding the balusters on top of specially designed easy mount brackets, saving loads of time and effort. Designed to screw onto wood or composite decking boards or rails, these brackets make life much easier for contractors and homeowners, while keeping your railing beautiful and corrosion-free. Below you’ll find some of the easiest ways to install balusters, including using this easy mount system.
How to Install Balusters
There are a few main ways that metal balusters are put onto railing systems. All of these methods are doable, even for less-experienced builders and DIYers, but some of them require more care, measuring, and drilling than others.
Drilling Holes: One of the most common ways to install a metal baluster in a wooden rail, especially without a kit, is to drill holes in the top and bottom rails, slide the baluster in from the top, and then cover the top holes with a horizontally placed board. There are some kits out there that sell the lumber with pre-drilled holes, set to code specification, allowing the assembler to simply drop the balusters in the slots. Depending on the climate, it’s important to make sure that the join between the baluster and the bottom hole is sealed, since that is an area where moisture can enter and cause problems like rotting of the wood and corrosion of the metal baluster.
Fascia Mounting: This is also an excellent way of installing balusters. Requiring no drilled holes, with fascia mounting the balusters are screwed onto the fascia boards on the outside of the deck, or they can be screwed on the outside of the bottom rail. You’ll just need to make sure your balusters are designed to be fascia mounted, and that your balusters and hardware are sturdy and corrosion resistant, especially if your deck is made from pressure-treated lumber.
Easy Mount Connectors: One of the most foolproof systems I know involves rubber mounts that are screwed onto the top and bottom railing with stainless steel screws. Hollow steel balusters fit tightly over the mounting connectors just like sleeves. Fitting snugly onto the connectors, the metal doesn’t get a chance to corrode from exposure to treated wood, nor does water have a place to collect and cause the rail to warp or the baluster to rust.
The Benefits of Using Easy Mount Brackets
Easy mount, peg-style brackets are currently my first choice when I go to install metal balusters into a wooden railing system. Here’s why:
If I had known about easy mount brackets back when I was helping my contractor friend, that’s definitely what I would have used. Not only are they fast and easy to use, but they look good (because you can’t see them!). They are cleverly hidden as soon as your balusters are mounted. You can even find easy mount brackets with an angled base for stair railings. If simplicity and ease of installation appeal to you, check out Fortress Building Products for these and other innovative railing products. Not every manufacturer sells products this clever and well-built, so they’re worth a look. If you have other projects in the works, take a look at Fortress®’ other lines of building materials, like fencing, decking, and ornamental hardware. They’ve got all sorts of products to make your next job or project go faster, whether it’s installing balusters or sinking fence posts.
Search