╳

Get The Latest On Our Greatest
Subscribe to Our Company/Product Updates

Friday, May 14, 2021
While backyard projects can seem daunting, any inspired weekend warrior can replace a wobbly or broken fence with some forethought and the right building materials. A durable, attractive lot line perimeter can pay dividends in resale value, enhance curb appeal and of course, act as a barrier of security and privacy between property lines.
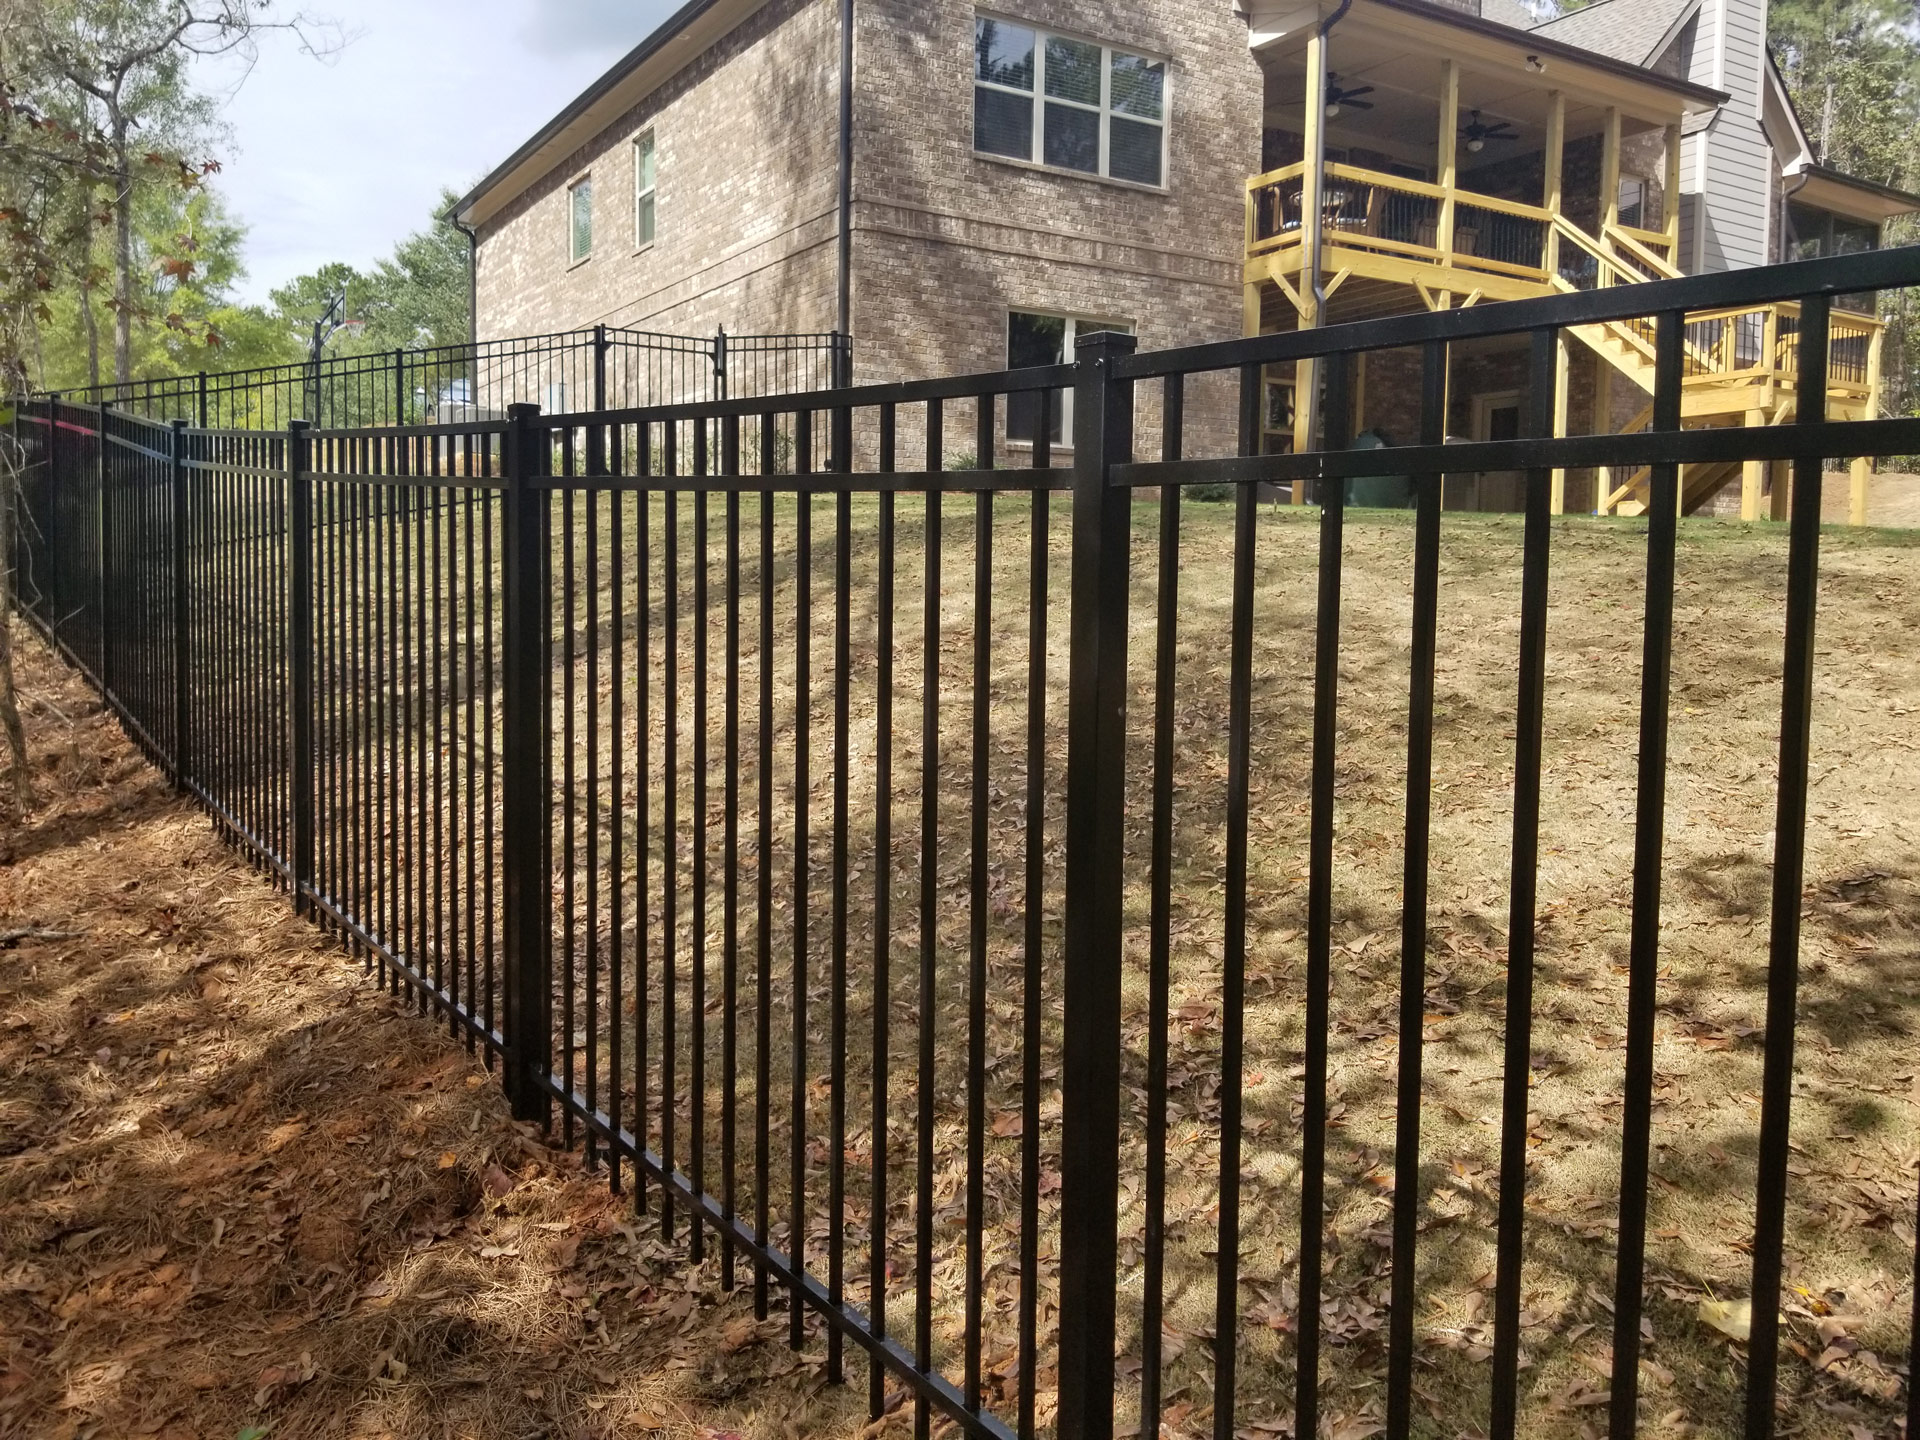
When embarking on home improvement projects, DIYers are increasingly turning to aluminum fences because installation is just as easy as upkeep. With pre-punched posts, durable finishes and rust-free panels, aluminum fencing is built to maximize investment and longevity.
With a breadth of easy-to-install solutions, there is no reason to be “on the fence” about replacing your fence. To get started, here are four steps to follow when installing a fence post.
Step 1: Put Your Fencing Plan on Paper
Put your plan in motion by drawing a holistic sketch of the fence on graph paper. A sketch of the project will serve as a helpful reference during the permitting process, and should include existing structures, property lines and the path of the fence. Most importantly, you’ll want to consider making a call to 811—the national call-before-you-dig phone number—to request that local utilities mark the location of buried utilities across your property. Doing so will ensure that you don’t accidentally dig into an underground utility line. Once this step is done, use your sketch to estimate the number of fence post types (gate, corner and line) required for installation and mark their locations on the drawing. Consider relocating any posts that are too close to marked utilities.
Step 2: Check Twice, Install Once
Before heading to the backyard with a post hole digger, it is imperative that homeowners take the appropriate measures to obtain a fencing permit and meet code-driven fence height regulations. Start with the municipality’s building department, building inspector or city hall for local codes and requirements regarding the fence project. Because most manufacturers are not liable for improper or unsafe installations, it is critical that DIYers meet all building codes and safety requirements within their region. Plus, prior planning only helps homeowners avoid costly and time-consuming consequences down the road.


Step 3: Gather Building Materials and Head Outside
Now that the planning phases are complete, it’s time to obtain the required building materials to successfully install the fence posts. Fencing solutions such as Fortress’ Athens residential aluminum fencing requires tools common in households and those that can be easily rented from a local hardware store. Tools may vary depending on the chosen fencing manufacturer and material, but commonly include:
Step 4: Bring Fencing Plans to Life
Using your layout as a guide, Fortress experts recommend starting fence post installation with a corner post. Dig the fence post hole to the material’s required depth with the post hole digger. Fence posts should be deep enough to live below the frost line, but you should always consult local code regulations for code requirements. Athens residential aluminum fencing posts are designed to be buried 21 inches in a 24-inch-deep post hole and should be at least 6 inches in diameter. To ensure sturdiness against strong winds, the standard minimum depth for a fence post is 24 inches, but this is dependent on manufacturer and local building codes.
Then, fill the holes with three inches of pea gravel or crushed stone to allow for drainage. Compact the gravel, set the fence post in the hole and use a level to confirm the post is straight. Fortress experts do not recommend immediately filling the hole with concrete as the installation process requires posts and panels to move freely within the post hole. After installing two fence panels, go back to the corner post and fill the hole with concrete within one inch of the surface of soil. Continue this process of confirming and digging post holes as panels are installed.
Be sure to check manufacturer resource guides for in-depth installation information and utilize video tutorials as a tool.
Search